
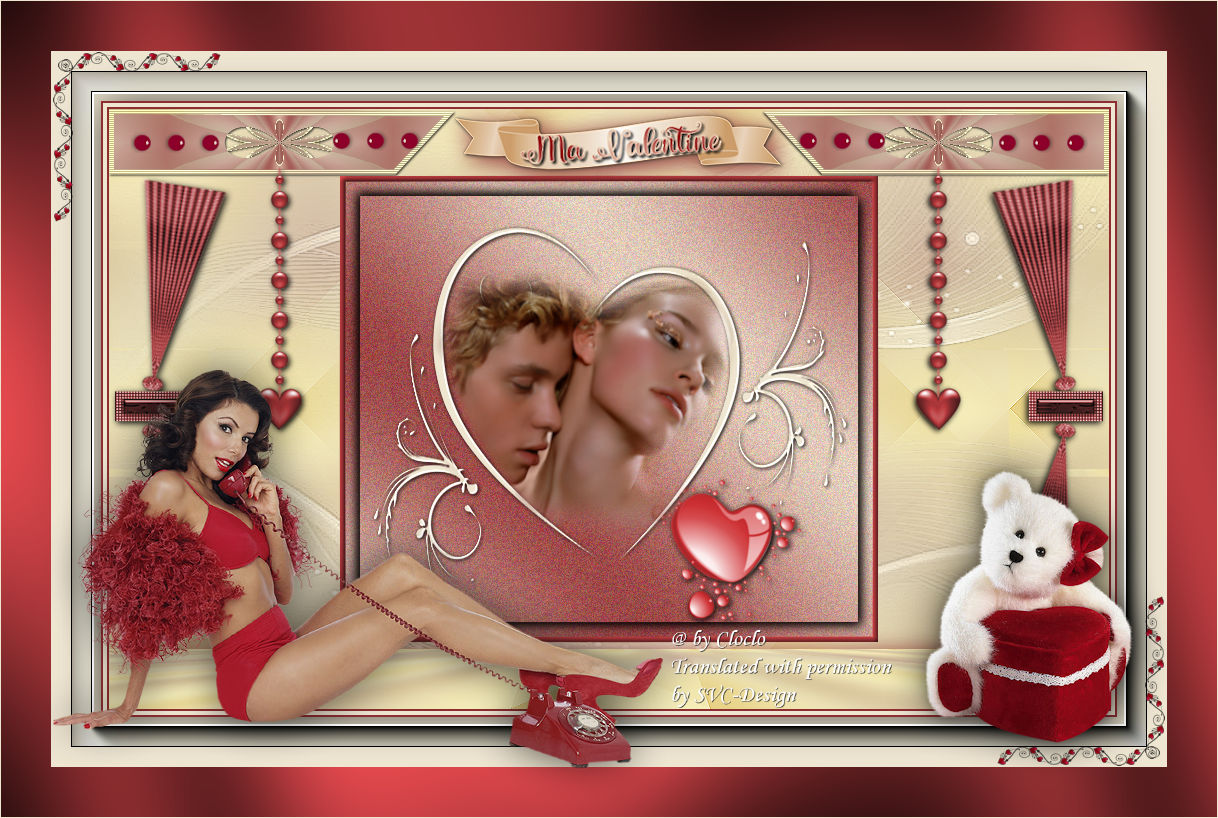
This lesson is made with PSPX9
But is good with other versions.
© by SvC-Design

Materialen Download :
Here
******************************************************************
Materials:
canal_alpha.pspimage
coeur cloclo.png
coin cloclo.png
deco cloclo1.png
deco cloclo2.png
deco cloclo3.png
Maske4.jpg
misted cloclo.png
mou_hot red.pspimage
Narah_mask_Abstract127.jpg
our yvonne.png
rose.png
texte.png
******************************************************************
Plugin:
Plug-ins - Unlimited 2.0 - &<Bacground Designer IV > - sf10 Slice N Dice
Plug-ins - Unlimited 2.0 - &<VM Exravaganza> - Transmission
Plug-ins - MuR'as Meister - Perspective Tiling 1.1
Plug-ins - AAA Frames - FOTO FRAME
Plugin - Graphics Plus - Cross Shadow
******************************************************************
color palette
:

******************************************************************
methode
When using other tubes and colors, the mixing mode and / or layer coverage may differ
******************************************************************
General Preparations:
First install your filters for your PSP!
Masks: Save to your mask folder in PSP, unless noted otherwise
Texture & Pattern: Save to your Texture Folder in PSP
Selections: Save to your folder Selections in PSP
Open your tubes in PSP
******************************************************************
We will start - Have fun!
Remember to save your work on a regular basis
******************************************************************
1.
Open the alpha channel I love you
Window – Duplicate
Minimize the original – we work on the copy
rename raster1
1.
Highlight color 1 - And in background color 2
Prepared a linear gradient
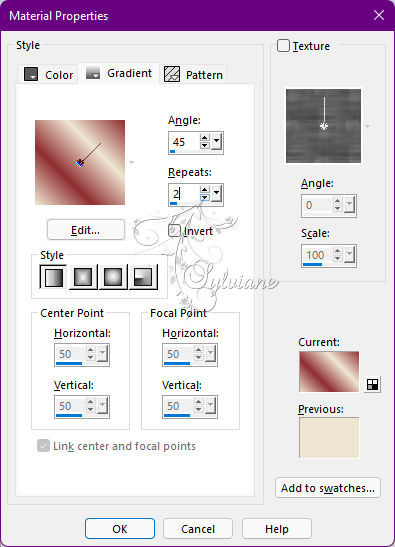
Fill with gradient
Selection - Select All
Open rose.png
Edit - copy
Edit - Paste into selection
Selection - Select None
Effects - Image Effects - Default Seamless Tile
Adjust - blur - gaussian blur
Radius to 50
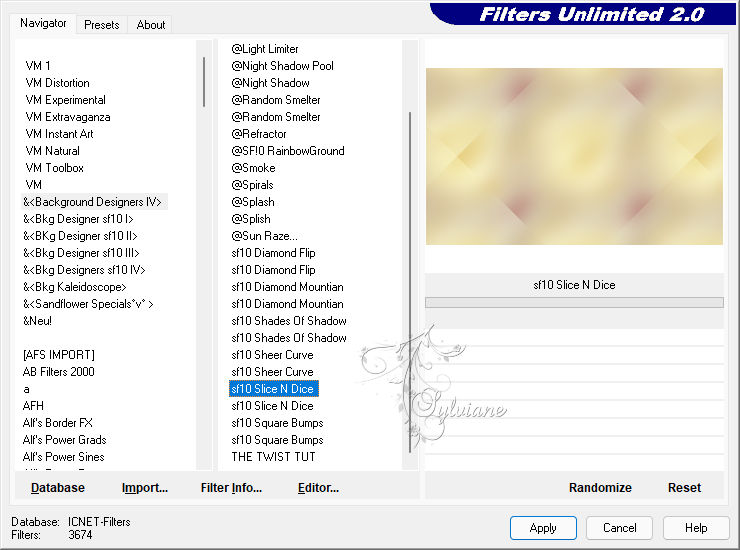
3.
Plug-ins - Unlimited 2.0 - &<Bacground Designer IV > - sf10 Slice N Dice
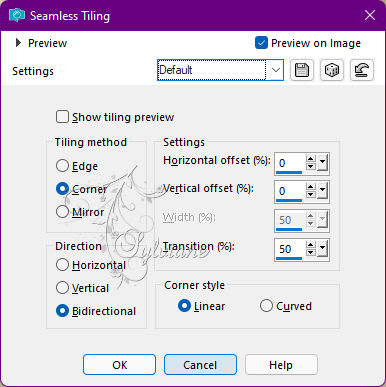
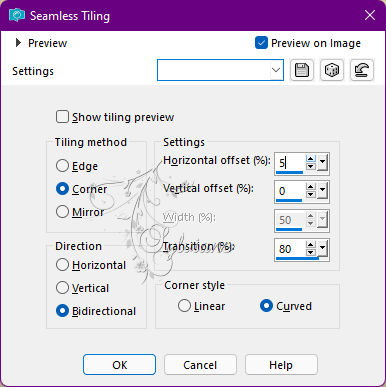
Effects - Image Effects - Seamless Tiling

Effects - Edge Effects - Enhance
4.
Layers - Duplicate
Image - Resize to 80% all layers uncheck
Effects - Image Effects - Seamless Tiling
Open Maske4.jpg
Layers - New raster layer
Fill with color2
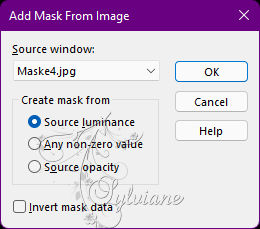
Layers - New mask layer from image - Maske4.jpg
Layers - Merge - Merge Group
5.
Layers - Duplicate
Image - Mirror – mirror Horizontal
Layers – merge – merge down
Layers - New raster layer
Fill with color1
Open the Narah_mask_Abstract127 mask
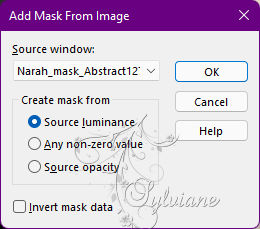
Layers - New mask layer from image - Narah_mask_Abstract127.jpg
Layers - Merge - Merge Group
Effects - Edge Effects - Enhance
You position on the bottom layer
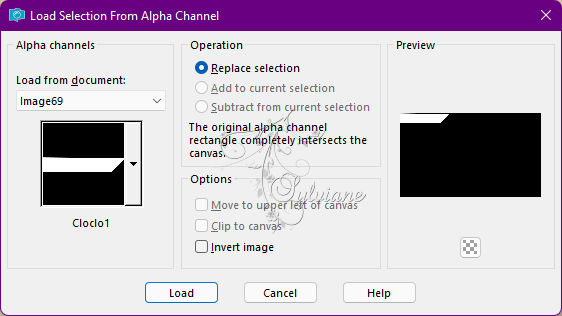
Selections - Load / Save - Load selection from Alpha Channel – cloclo1
Selections – Promote selections to layer
Layers - Arrange – Bring to top
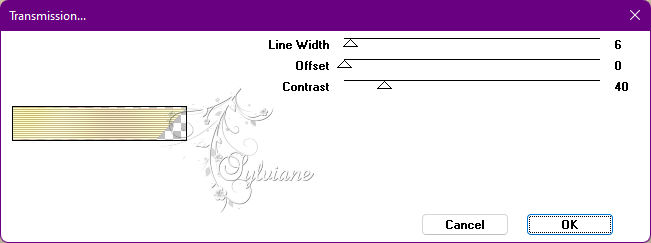
Plug-ins - Unlimited 2.0 - &<VM Exravaganza> - Transmission
Keep select
6.
Selection - modify - contract - 5 px
Press Delete
Fill in the start gradient
Adjust - blur - gaussian blur
Radius to 20
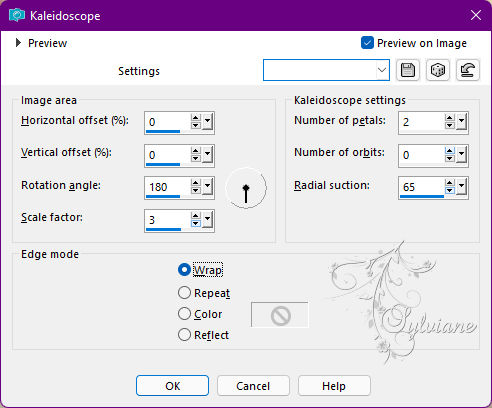
Effects - Reflection Effects – Kaleidoscope
Selection - Select None
Effects - 3D Effects - Drop Shadow
1 / 1 / 80 / 3 - Color2
Layers - Duplicate
Image - Mirror – mirror Horizontal
Layers – merge – merge down
Layers - New raster
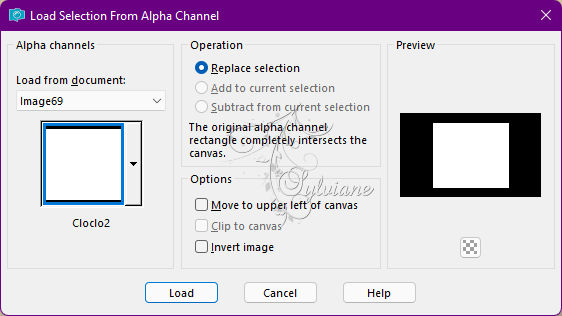
Selections - Load / Save - Load selection from Alpha Channel – Cloclo2
Fill in the start gradient
Adjust - blur - gaussian blur
Radius to 50
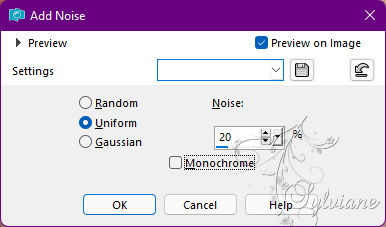
Adjust - Add / Remove Noise - Add Noise
Selections - modify - select selection borders
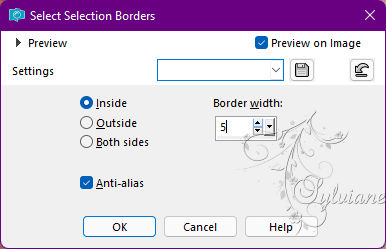
Fill in color2
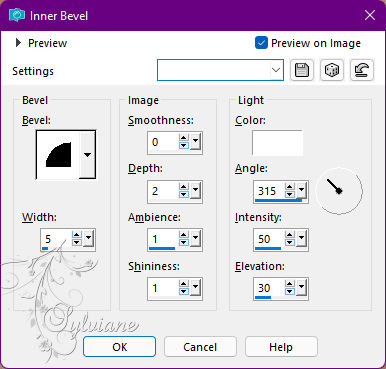
Effects - Effects 3 D - Inner Beveling
Selection - Select None
Layers – merge – merge down
Selections - Select All
Selections – float
Selections – defloat
7.
Selection - modify - contract - 20 Pixels
Effects - 3D Effects - Drop Shadow
4 / 4 / 100 / 15 – color:#000000
Effects - 3D Effects - Drop Shadow
-4 / -4 / 100 / 15 -color:#000000
Selection - Select None
Layers - New raster layer
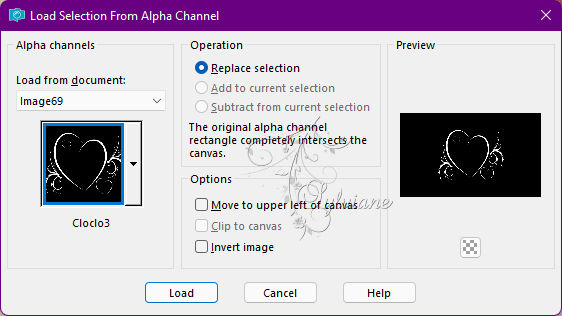
Selections - Load / Save - Load selection from Alpha Channel – cloclo 3
Fill in color1
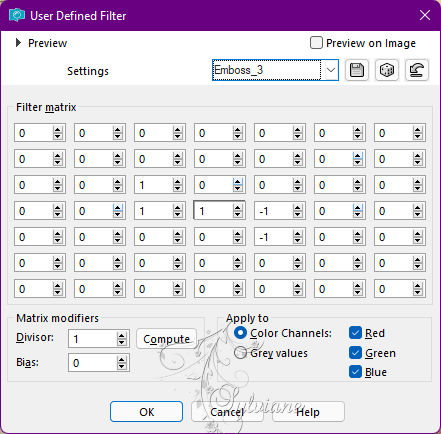
Effects - own filter - emboss 3 - And OK
Selection - Select None
Effects - 3D Effects - Drop Shadow
1 / 1 / 100 / 6 – color:#000000
Open misted cloclo.png
Edit - copy
Edit - paste as a new layer
Place well
With the gum remove the surplus if necessary
8.
You position on the bottom layer
Duplicate layers
Layers – arrange – bring to top
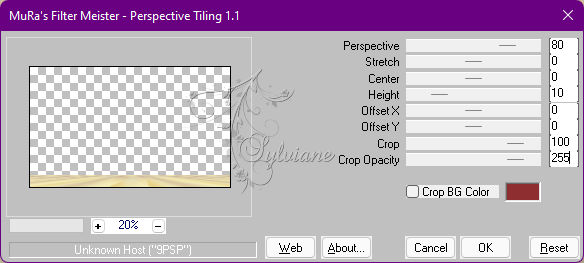
Plug-ins - MuR'as Meister - Perspective Tiling 1.1
Effects - 3D Effects - Drop Shadow
4 / 4 / 100 / 35 - Color 2
Open deco cloclo2.png
Edit - Copy
Edit - Paste as new layer
Activate selection tool (Press K on your keyboard)
And enter the following parameters:
Pos X :21 – Pos Y : 20
Press M
Open coeur cloclo.png
Edit - Copy
Edit - Paste as new layer
Activate selection tool (Press K on your keyboard)
And enter the following parameters:
Pos X : 538 – Pos Y :342
Press M
Open deco cloclo3.png
Edit - Copy
Edit - Paste as new layer
Activate selection tool (Press K on your keyboard)
And enter the following parameters:
Pos X :143 – Pos Y :55
Press M
Open deco cloclo1.png
Edit - Copy
Edit - Paste as new layer
Do not move
Open texte.png
Edit - Copy
Edit - Paste as new layer
Activate selection tool (Press K on your keyboard)
And enter the following parameters:
Pos X :343 – Pos Y : 3
Press M
9.
Image - Add Borders – Symmetric -2-pixel - Color2
Image - Add Borders – Symmetric - 4-pixel - Color1
Image - Add Borders – Symmetric - 2-pixel - Color2
Select - Select All
Image - Add Borders – Symmetric - 50-Pixel - Color1
Effect - 3D Effect - Drop Shadow
0 / 0 / 65 / 66 color:#000000
Selection - Select All
Selection - modify - contract – 20px
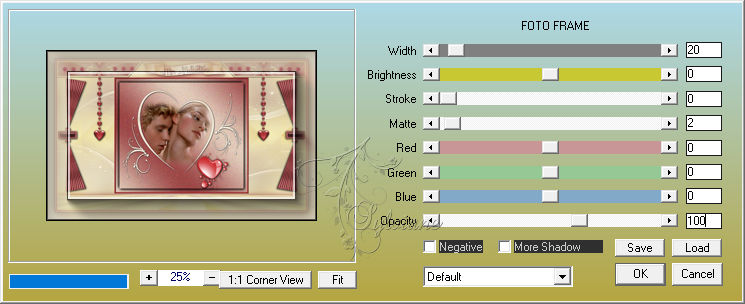
Plug-ins - AAA Frames - FOTO FRAME
Select - Select All
Image - Add Borders – Symmetric - 50-Pixel - Color2
Selections - Invert
Plugin - Graphics Plus - Cross Shadow - Default
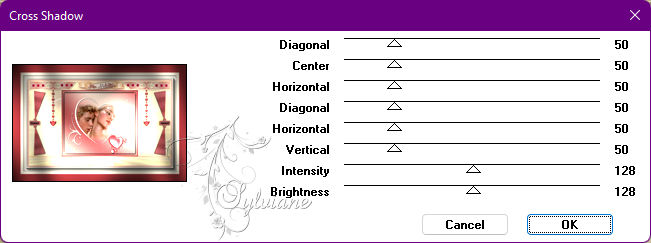
Image - Add Borders – Symmetric - 1 pixel - Color1
10.
Open coin cloclo.png
Edit - Copy
Edit - Paste as new layer
Do not move
Open our yvonne.png
Edit - Copy
Edit - Paste as new layer
Place Bottom Right - View Final
Open mou_hot red.pspimage
Edit - Copy
Edit - Paste as new layer
Place Bottom Left - View Final
Drop shadow of your choice
Sign your work - Put the copyright if necessary
Put my watermark
Layer – merge – merge all (flatten)
Image / Resize to 1000 pixels wide
Save as JPG
Back
Copyright Translation © 2022 by SvC-Design